Dual-Handle vs Single-Hole Faucets: Which to Choose?
Choosing between a dual handle faucet and a single hole faucet may seem like a small decision but in bathroom

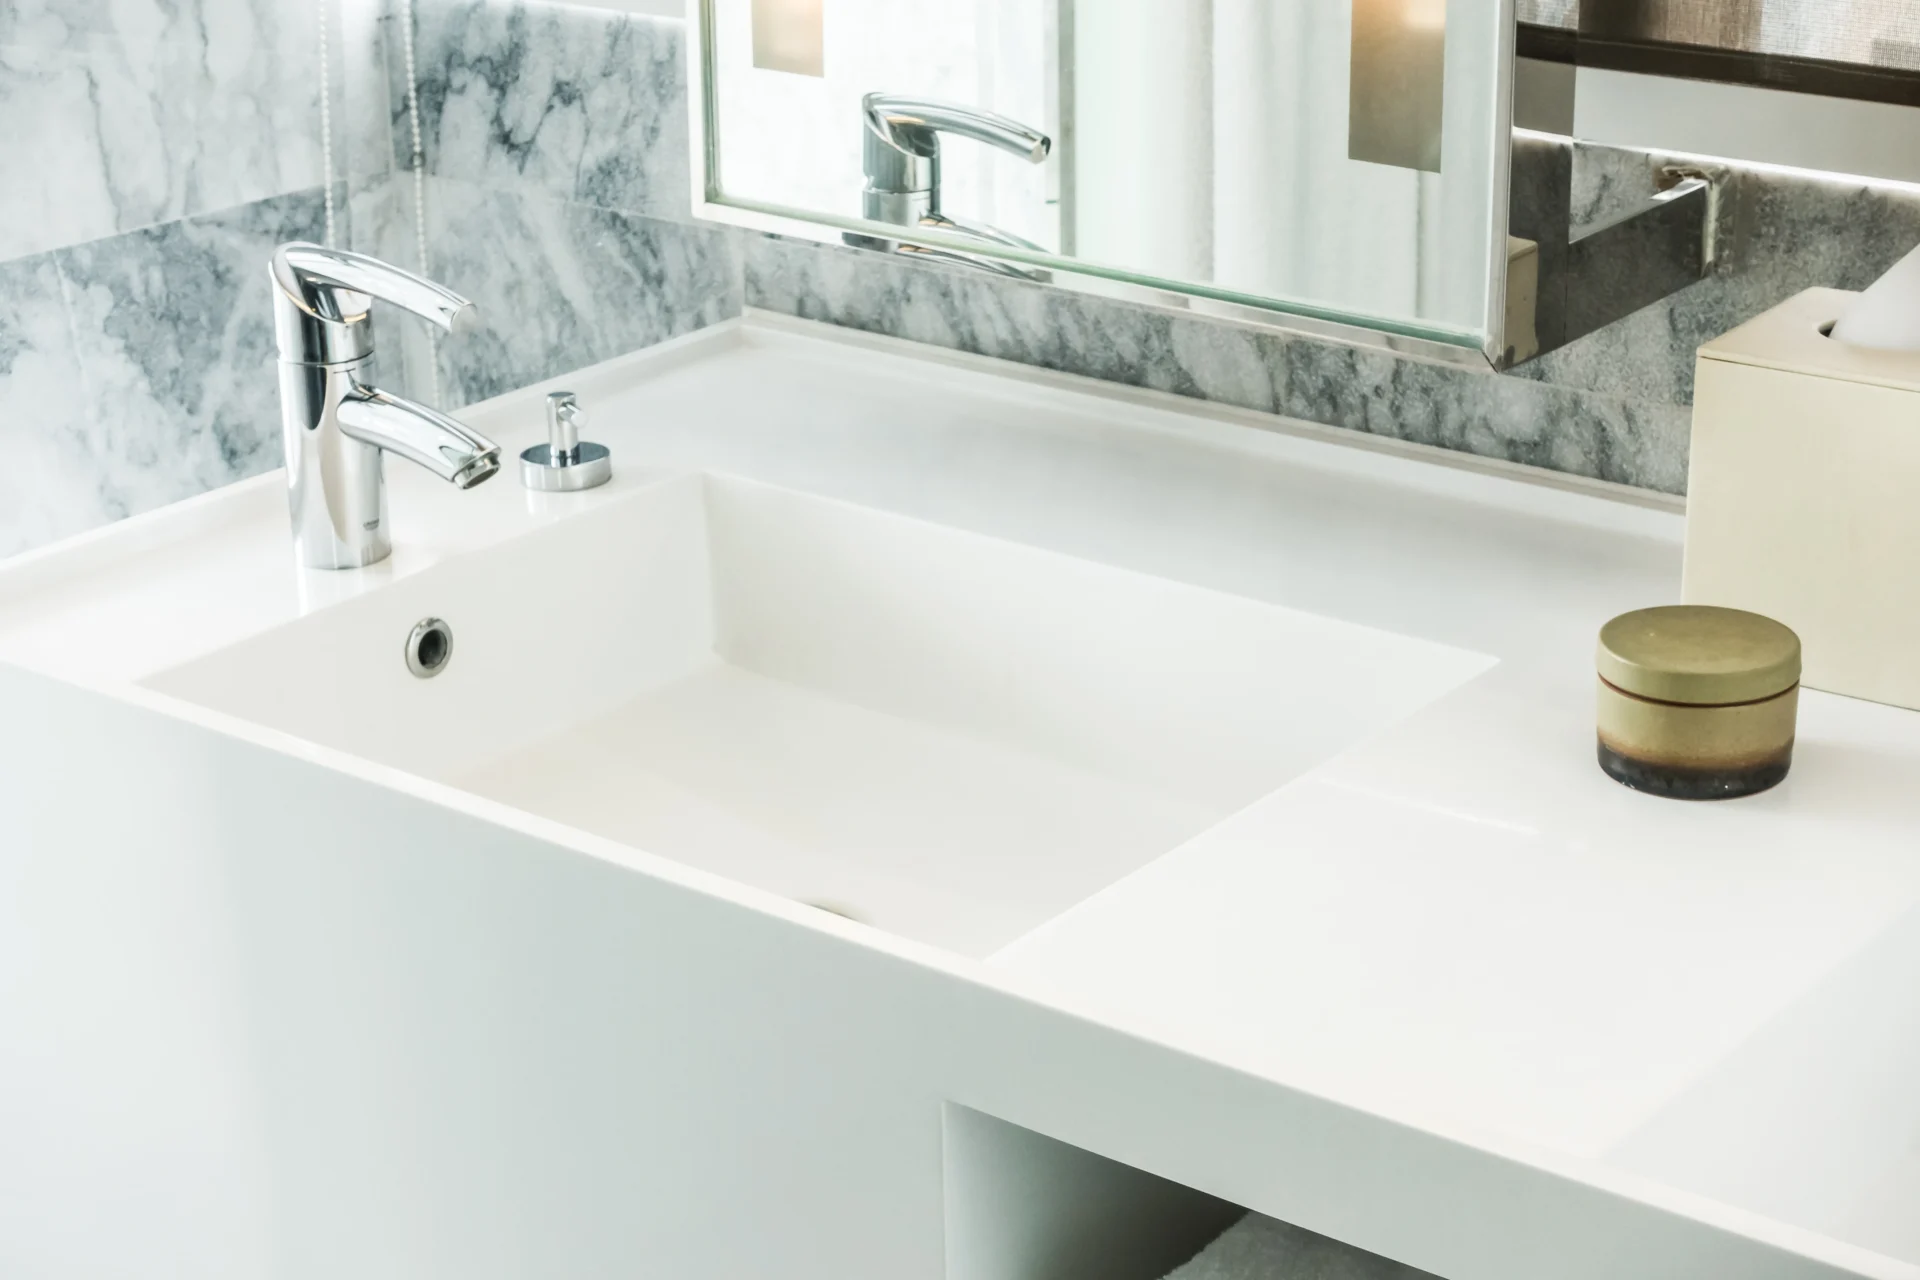
Want to refresh your bathroom? Consider a wall-mounted sink. It’s perfect for saving space and modernizing your decor. Plus, it’s a great choice for small bathrooms.
This DIY guide will show you how to install a wall-mounted sink in your bathroom. You’ll discover how to pick the right sink and secure it correctly. Let’s get started on your bathroom makeover!

Wall mount sinks are a top pick for modern bathrooms. They attach right to the wall, giving a sleek look and saving space. Let’s dive into what makes these sinks special and why they could be great for your home.
A wall mount sink is a basin that sticks to the wall without floor support. It looks like it’s floating, making your bathroom seem bigger and more open. The plumbing is often visible, adding a cool, industrial touch to your space.
Wall mount sinks have many perks: – They save space, perfect for small bathrooms – They’re easier to get to for people using wheelchairs – They’re simple to clean under and around – They come in many styles to fit any decor
Keep these things in mind before putting in a wall mount sink: – Make sure your wall can hold the sink’s weight – Plan for the exposed plumbing and how to make it part of your design – Think about where you’ll put things since these sinks don’t have cabinets – Consider the sink’s height for comfort and easy use
Understanding these points will help you decide if a wall mount sink is right for your bathroom update.

Before you start installing your wall mount sink, make sure you have all the tools and materials. This makes the process smooth and without any hitches.
You’ll need a stud finder to find where the wall studs are and a level for the sink’s alignment. A drill is key for making holes and securing the sink. Also, have a pencil for marking spots and a screwdriver for tightening.
For plumbing connections, you’ll use a wrench and clear silicone for sealing gaps. Use tape to protect areas around you while you work. Safety first means wearing a dust mask, hearing protection, safety glasses, and work gloves.
If your wall needs extra support, keep wood blocking materials handy. With everything ready, you’re all set to start your wall mount sink installation with confidence.
Before you install a wall mount sink, take time to check your bathroom space. This is key for a good installation and making sure your sink fits well.
Look at your wall types first. Walls can hold different amounts of weight. Drywall might need extra support, while concrete walls are stronger. For stud walls, find the studs for secure mounting. Knowing your wall’s strength is important for a safe sink.
The sink’s height is crucial for comfort and use. The usual height is 34 inches from the floor, but you can change it. Think about the users’ heights and what they prefer. Don’t forget to consider the sink’s depth when setting the height.
Wall mount sinks often show the pipes, which can change your bathroom’s look. Plan how you’ll deal with this. You could install a new P-trap or paint the pipes to match your fixtures. This way, your sink will work well and look good too.
By looking at these factors carefully, you’ll be ready for a smooth wall mount sink installation. This will improve your bathroom’s look and function.
Before you start installing your new wall mount sink, get the space ready. This means removing the old sink, turning off the water supply, and disconnecting the plumbing. These steps are key for a smooth setup.
First, find the main water shut-off valve and turn it off. This stops any water leaks when you disconnect the plumbing. Then, take out the old sink carefully. You might need a wrench to loosen the mounting bolts.
After removing the old sink, disconnect the plumbing. This includes the drain pipe and water supply lines. Have a bucket ready to catch any water left in the pipes. Once disconnected, check the plumbing lines. You might need to reroute them for your new wall mount sink.
Look at the wall studs where you’ll mount the sink. They must be strong enough to hold the sink’s weight. If needed, add wood blocking for extra support. This is crucial for a secure installation.
With these preparations done, you’re set to install your new wall mount sink. The next steps will show you how to mount it correctly.
Before you put in your new wall mount sink, you must remove the old one. This involves several steps for a smooth changeover.
First, find the water valve under your sink or in the basement. Turn it clockwise to stop the water flow. Then, open the faucet to drain any water left in the pipes.
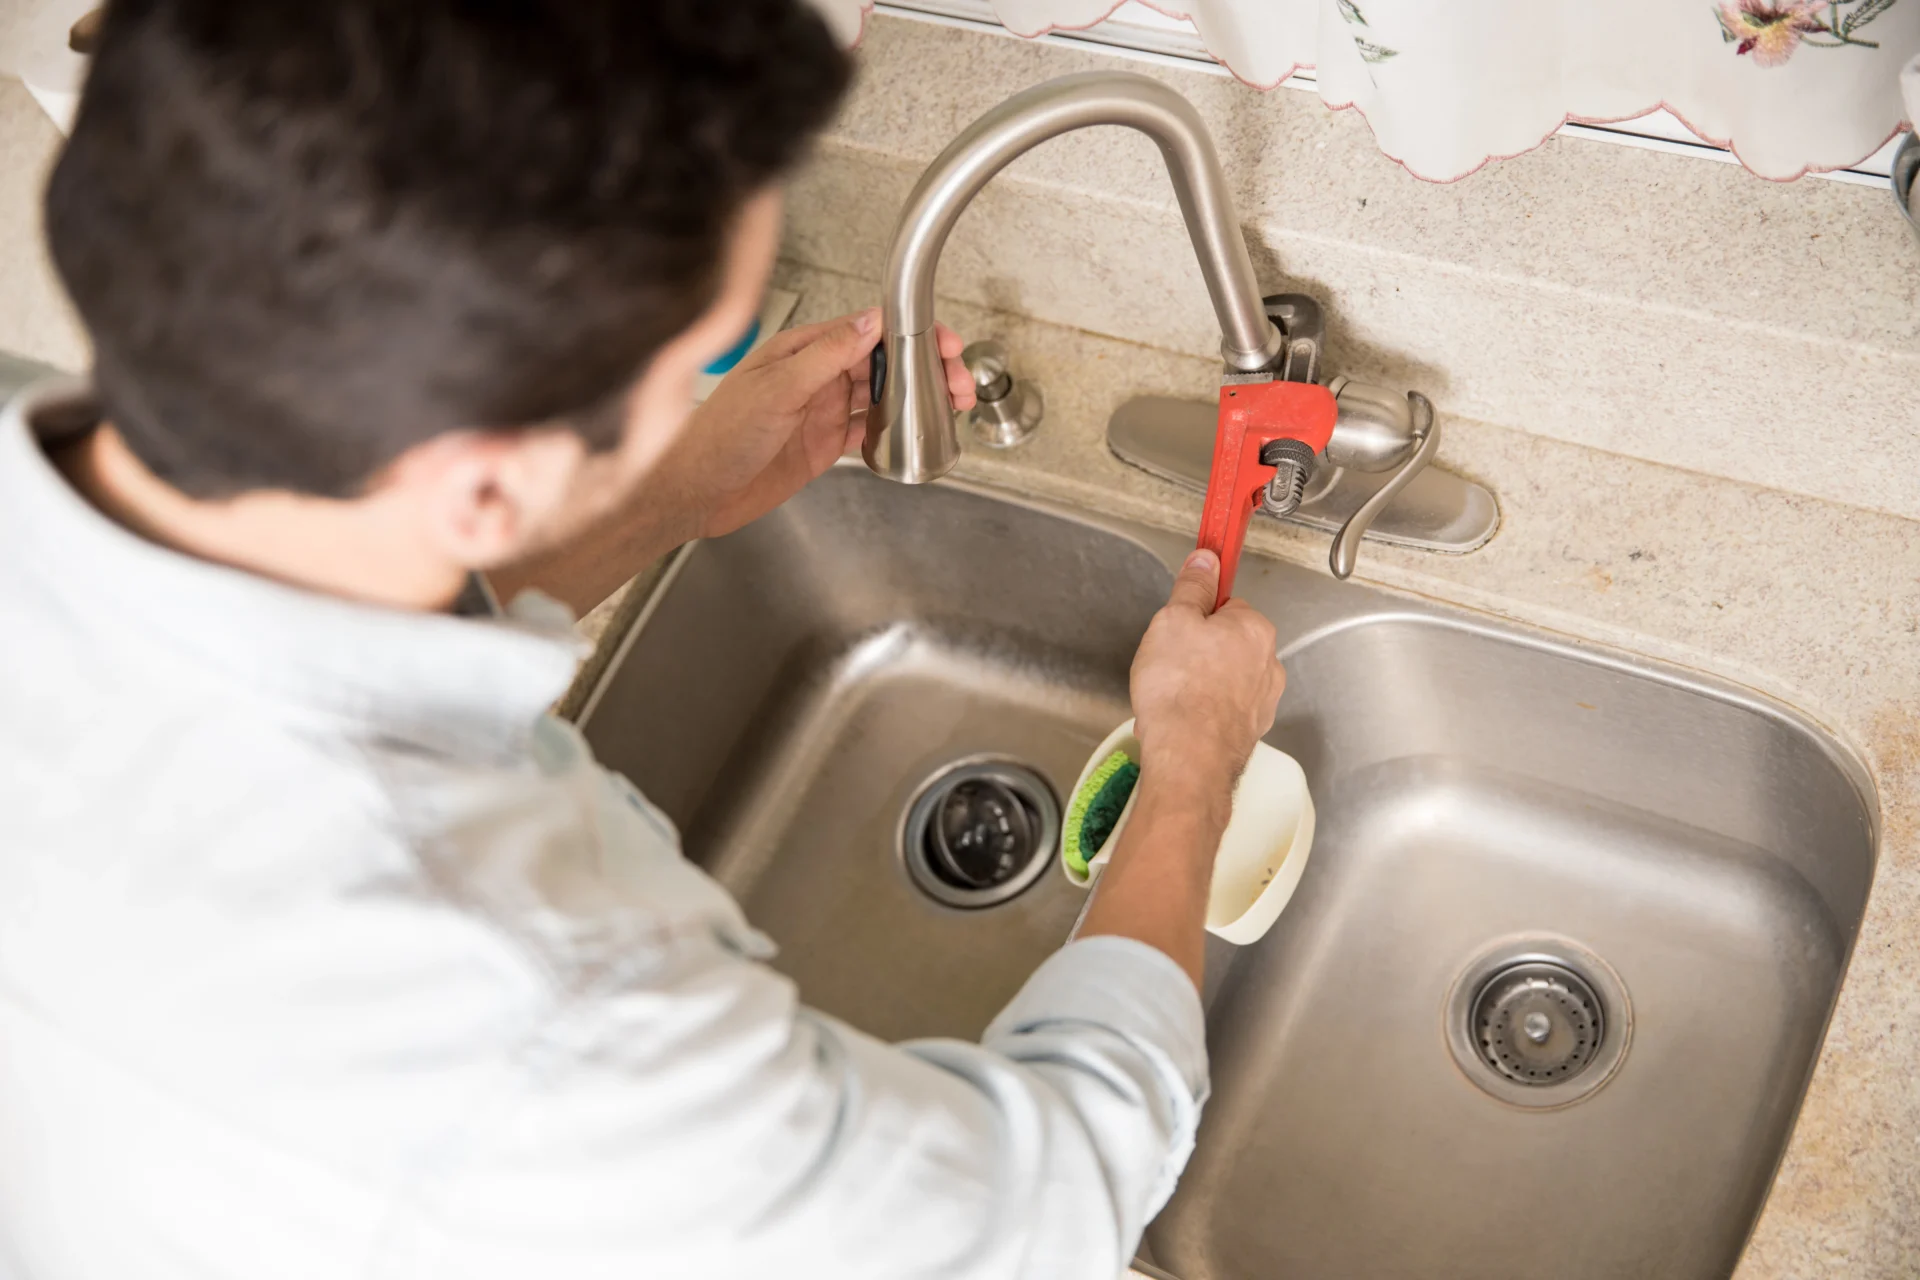
Use a wrench to take off the supply lines from the shut-off valves. Next, remove the P-trap and drain pipes. Have a bucket ready to catch any water left in the system.

If you have a vanity, you’ll need to remove it. Unscrew the vanity from the wall and gently pull it away. For pedestal sinks, remove any caulk around the base and rock it to break the seal.
Once the sink is removed, lift it off the wall or pedestal. Take out any remaining mounting brackets or hardware. Be ready for possible floor damage or mismatched flooring under the old fixtures.
With the old sink removed, you’re set to prepare for your new wall mount sink installation.
Are you ready to install your wall mount sink? Let’s go through the steps together. First, mark where the sink will go on the wall. This ensures it’s aligned and stable.
Then, remove a part of the drywall to access the plumbing. This makes it easier to connect the water lines and drain assembly.
Before putting the sink on the wall, attach the faucet and drain. It’s easier to do this now than after the sink is up. Just follow the manufacturer’s instructions for attaching the mounting plate or directly to the wall.
When putting the sink in place, be gentle with the bolts. Over tightening can cause the porcelain to crack. Once it’s securely fastened, connect the water lines and check for leaks.
Finally, set up the drain assembly. Ensure all connections are secure to avoid water damage. After everything checks out, seal the wall opening around the plumbing.
By following these steps, you’ll have your wall mount sink ready for use. Remember, take your time and check each step carefully for the best outcome.
Finding wall studs is key for a secure wall mount sink. The right spacing means your sink will stay in place for years. Let’s look at how to find studs and add support if needed.
A stud finder is your go-to tool for this job. Move it along the wall to spot studs, which are spaced 16 to 24 inches apart. Mark the edges and center of each stud you locate. This is crucial for knowing where to attach your sink.
If your wall doesn’t have enough support, you’ll need to add wood reinforcement. This means cutting drywall, but it’s essential for a stable sink. Cut a piece of drywall between studs, add a lumber support, and secure it well. Then, patch the wall and mark spots for your sink.
Remember, proper reinforcement is crucial to avoid future problems. Spend time on this step to make sure your sink has a strong base. With studs found and support added, you’re set to move forward with your sink installation.
Are you ready to install your wall mount sink? Let’s get started with the mounting process. First, drill holes at the marked spots on the wall studs or blocks. This is key for a strong installation.
Then, it’s time to put in the mounting brackets. These are crucial for supporting your sink. Attach them firmly with bolts or heavy-duty wall anchors. If your wall is made of drywall, use wall anchors for extra strength.
Next, line up your sink with the brackets. Make sure it’s straight using a level. Once it’s in place, secure the sink with the right bolts and screws. Remember to add washers for extra stability.
Be patient during this step. A well-mounted sink will last for many years. Check all connections and tighten everything well. Your wall mount sink is now set to be the highlight of your bathroom!

Choosing between a dual handle faucet and a single hole faucet may seem like a small decision but in bathroom
Receive your order to your door address anywhere in the world using our shipping partners
You're covered by our 30 days return policy
Big part of our reviews testifies about the quality of support provided
Secured payments using renowned payment gateways