Dual-Handle vs Single-Hole Faucets: Which to Choose?
Choosing between a dual handle faucet and a single hole faucet may seem like a small decision but in bathroom

Is your Kitchen Faucet Head giving you trouble? Don’t worry, we’ve got a guide to help you fix a leaking faucet and repair your pull-down sprayer. Kitchen sink upkeep doesn’t have to be hard.
Pull-down faucets are perfect for washing dishes, but they can get old. We’ll show you how to spot problems, fix them, and replace the spray head if needed. With a few easy steps, your kitchen faucet will be good as new.
Did you know modern supply lines with braided steel jackets are almost impossible to connect wrong? They’re worth the extra money for their dependability. When putting them in, measure from the faucet to the shut-off valves and add extra inches for a perfect fit.
Before we begin, make sure you have all your tools and parts ready. New kitchen faucet usually come with instructions and tools. Keep these in a freezer bag for easy reach during future sink maintenance. Ready to fix that leak? Let’s start!

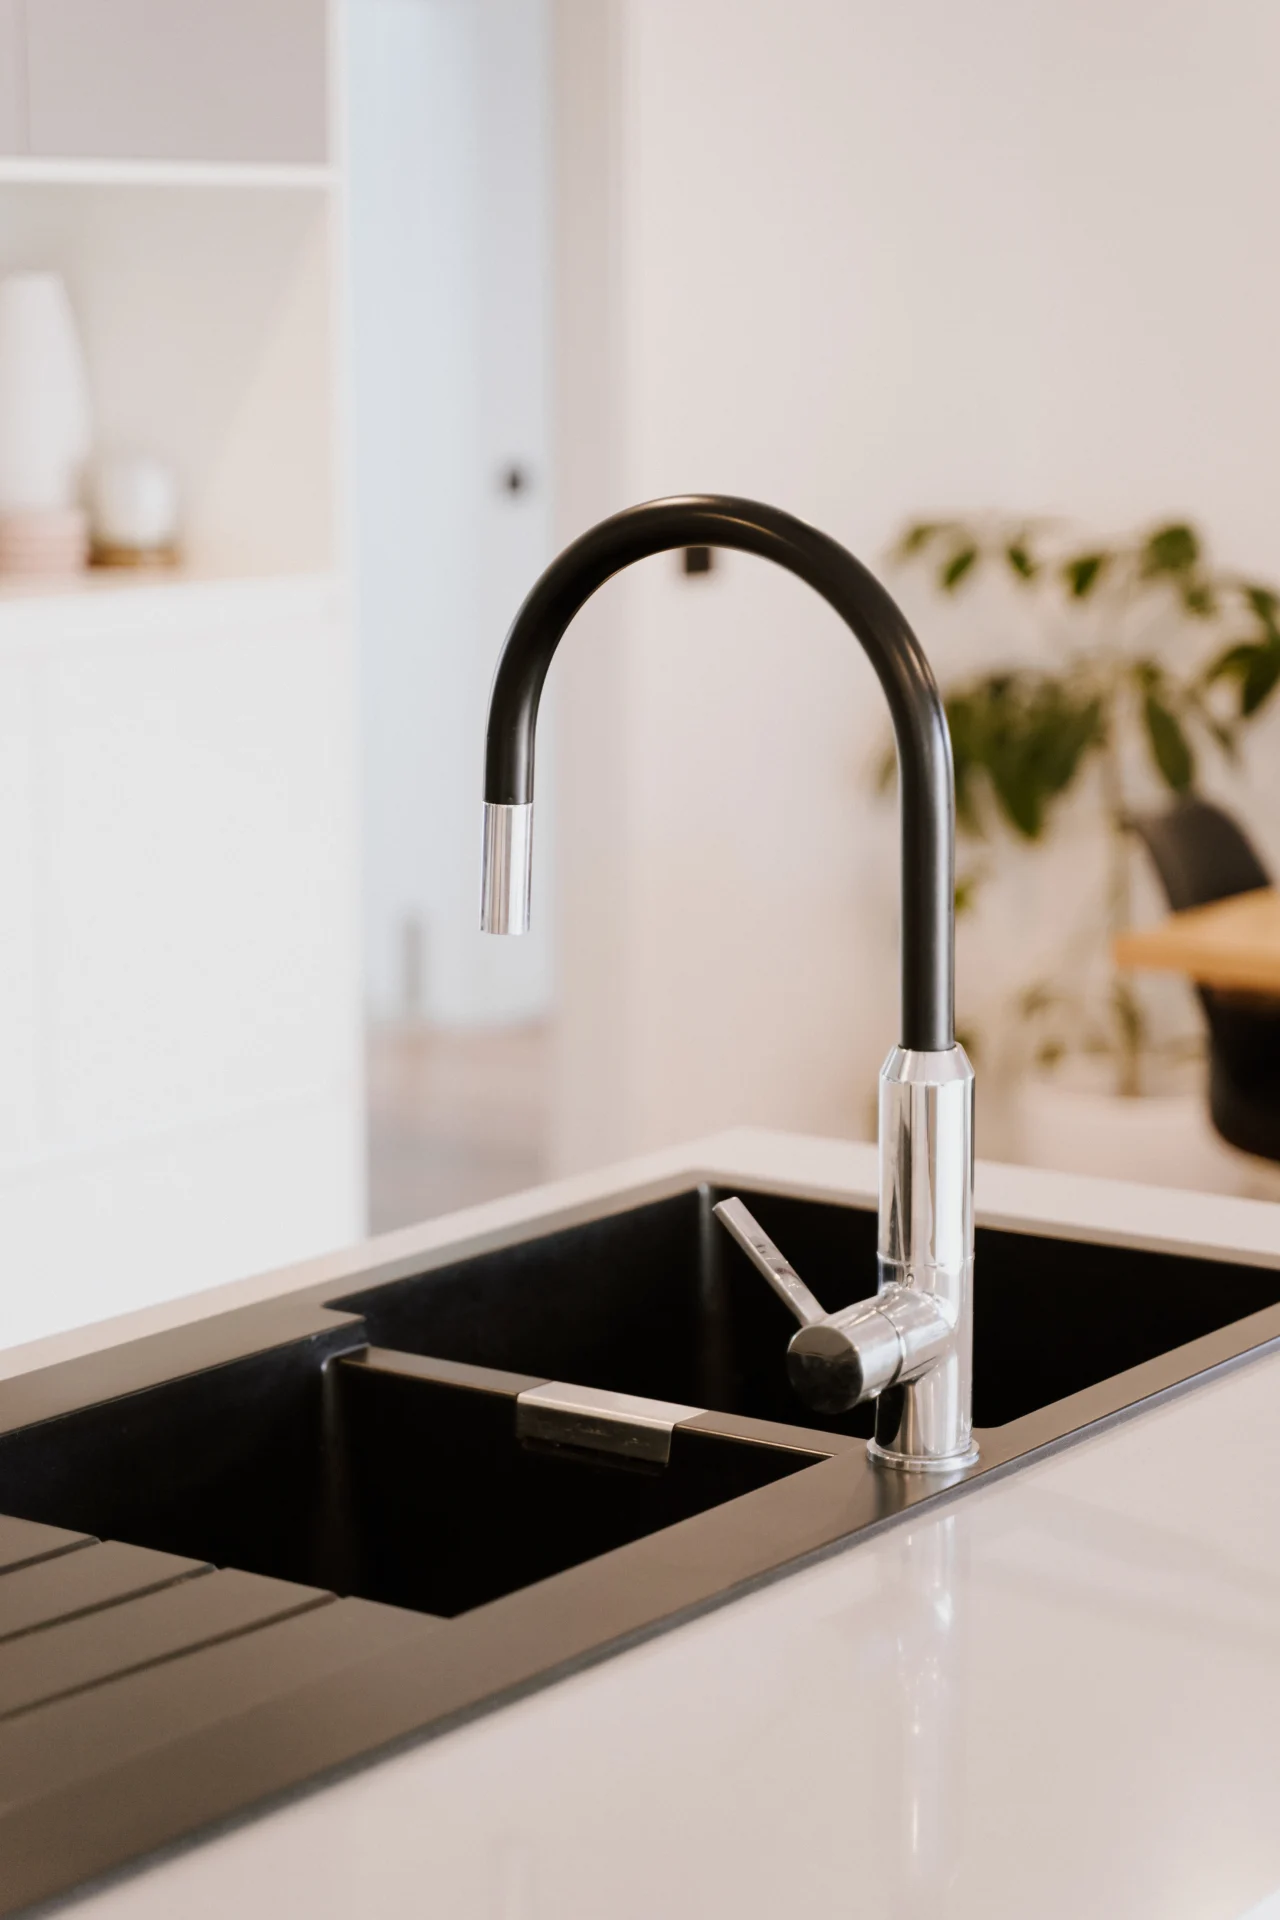
Pull-down kitchen faucet is now a key part of modern kitchens. They bring convenience and efficiency to everyday tasks. Let’s look at the benefits, common issues, and how to maintain them.
Pull-down faucets make tasks easier and more flexible. They let you control the water flow precisely, making things like filling large pots or cleaning the sink simple. Compared to side sprayers, they are more functional and save space.
Pull-down faucets are dependable but can face problems. Leaks are common, happening at the cartridges, seals, or retractable hoses. Spray function and retraction problems are also frequent. Regular maintenance can prevent these issues and make your faucet last longer.
Choosing between fixing or replacing your pull-down faucet depends on several things. If your faucet is new and the problem is minor, fixing it might be best. Simple fixes like replacing O-rings or cleaning off limescale can often solve issues. But for older faucets or ongoing problems, replacing it might be more cost-effective. Think about the availability of parts and your faucet’s condition before deciding.

To fix your pull-down kitchen faucet, you’ll need some plumbing tools. Make sure you have an adjustable wrench, pliers, and a screwdriver. These are the basics for most faucet repairs. A faucet repair kit is also a must-have. It comes with parts like O-rings and seals.
Specialized tools are also important. Tongue-and-groove pliers are great for tight spaces. Needle-nose pliers are useful for small parts. If your faucet has special screws, you might need an Allen wrench. Always have a utility knife on hand for cutting new seals.
Getting the right replacement parts is key. O-rings often need replacing due to wear and tear, causing leaks. You might also need new cartridges or stems for bigger problems. Make sure to check your faucet’s brand and model for the correct parts. Remember, a small drip can waste hundreds of gallons of water each year!
Finally, keep a rubber band or chip clip ready. These can hold the hose in place during repairs, making your work easier. With these tools and materials, you’re all set to fix your kitchen faucet and stop leaks.
Faucet troubleshooting begins with finding the issue. A leaky kitchen faucet can waste over 3,000 gallons of water each year. Let’s look at how to spot common problems with pull-down faucets.

Begin by checking the faucet’s visible parts for leaks. Look for drips or water stains near the base and spout. The paper towel test can reveal hidden leaks. Wrap a dry paper towel around possible leak spots and check for wetness after a few minutes.
Leaks can be caused by damaged cartridges, worn gaskets, or high water pressure.
Test your faucet’s spray modes to see if they work well. If the water flow is weak or not even, you might have a spray head issue. This could be from mineral buildup, especially in areas with hard water.
Clean the spray holes with a soft brush to remove debris. If the problem doesn’t go away, the spray head might need to be replaced.
A smooth retraction is important for pull-down faucets. If the spray head doesn’t go back in right, check under the sink for tangled or kinked hoses. Make sure the weight is attached correctly and moves easily.
Problems with retraction might come from a worn hose or a faulty weight system. Regular cleaning and correct installation can help avoid these issues.
Pull-down sprayers often get stuck, and you’re not the only one. About 13% of users face issues with brands like Moen and Delta. The retracting mechanism is a common problem in fixing faucet hoses.
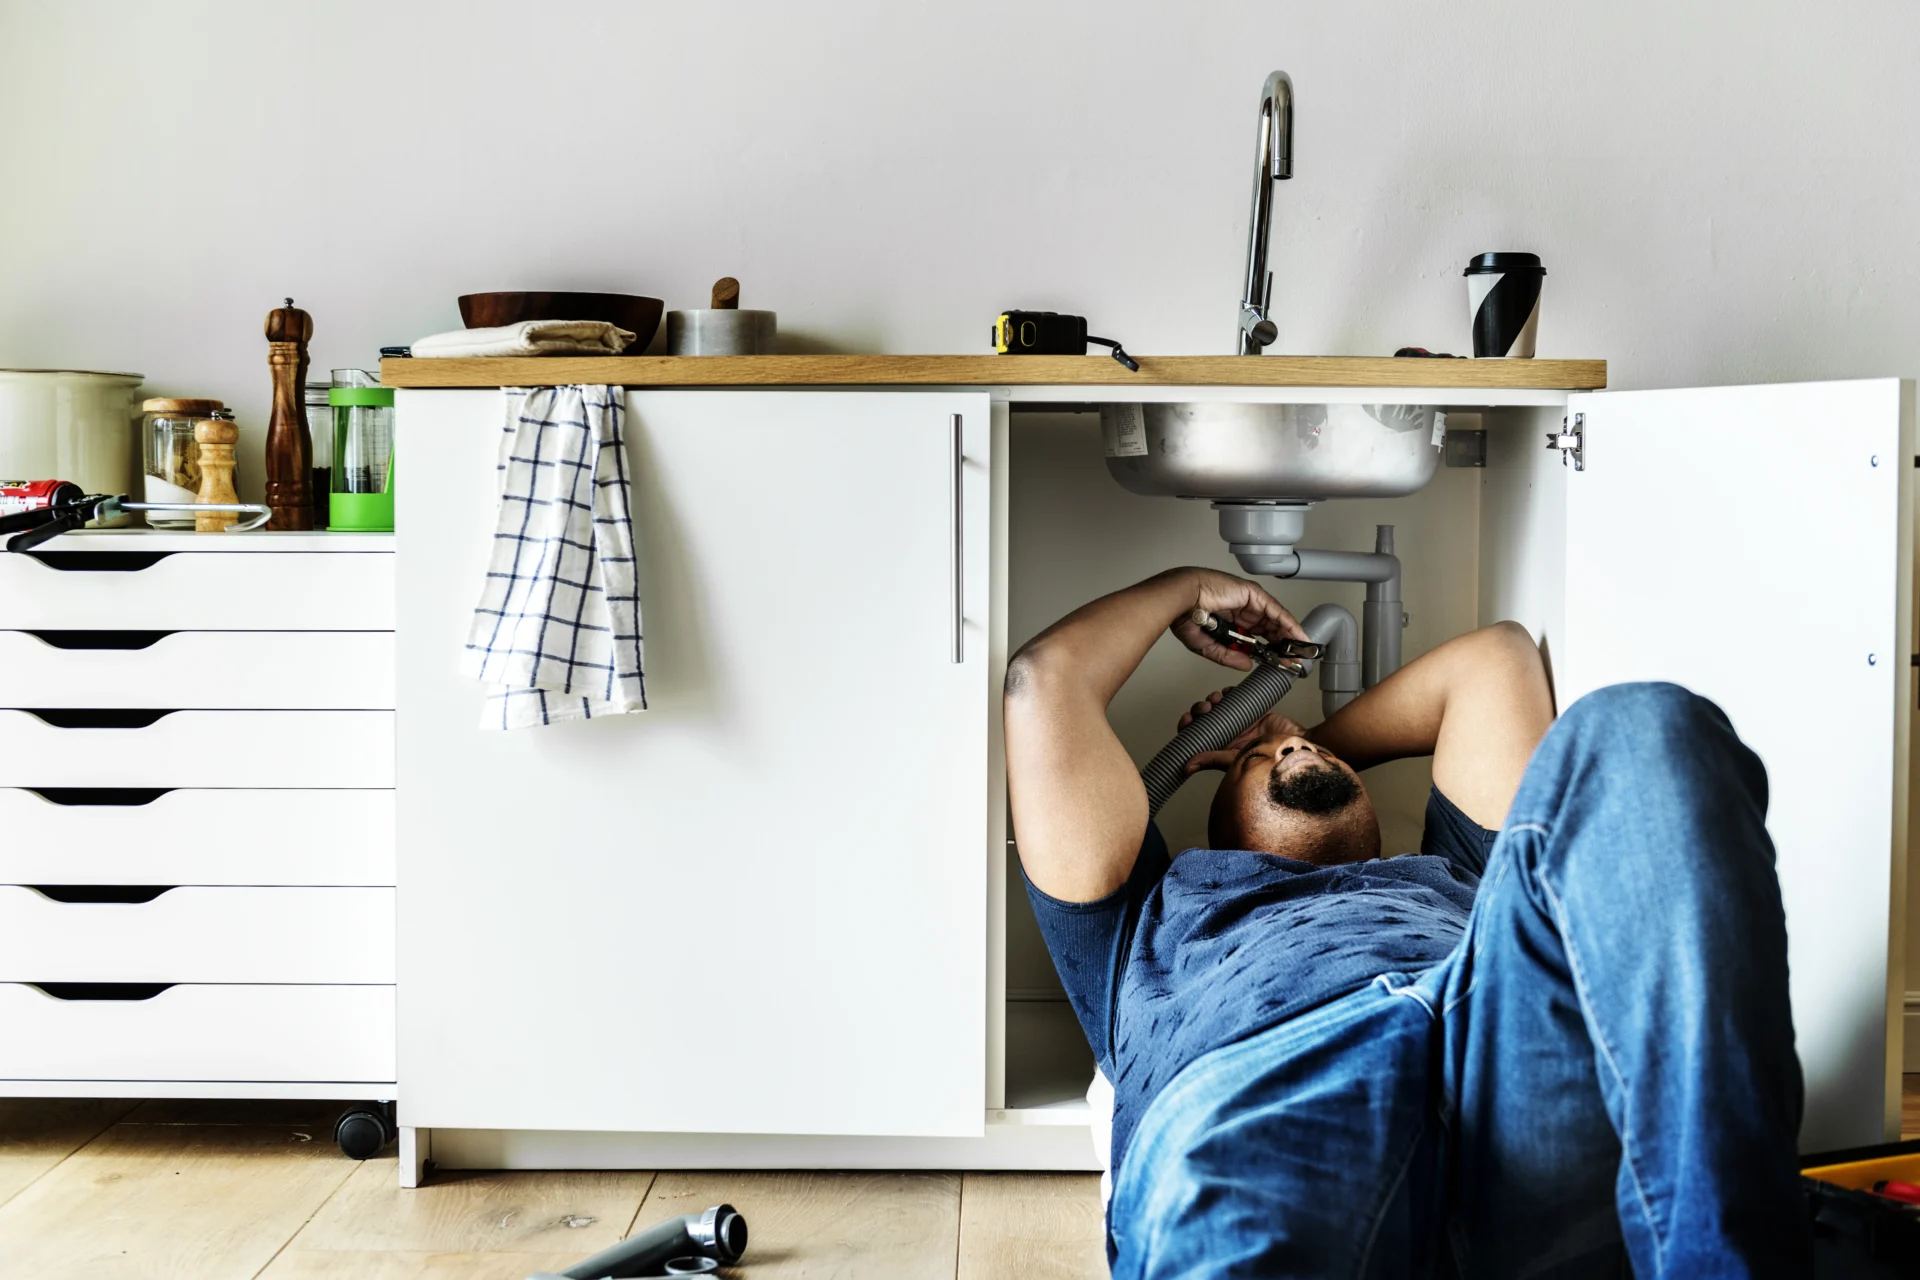
Start by checking under your sink. Tangled or blocked hoses can cause retraction problems. Move plumbing or stored items to clear the way. This easy fix often solves many stuck sprayer issues.
If the issue doesn’t go away, look at the weight on the hose. It might have moved or become loose. Adjust its spot to help retraction. For hard cases, think about replacing the weight.
Mineral buildup can also make it hard for the sprayer to work right. Clean the hose and spray head often to avoid this. If you’re still having trouble, it might be time to call a plumber. They can fix the under-sink setup for better performance.
Quality is key. While midrange models cost $150-$200, spending on a durable faucet can save you money on repairs. Metal parts last longer than plastic, keeping your retracting mechanism working well for years.
Dealing with a leaky pull-out kitchen faucet can be frustrating, but don’t worry! With a bit of know-how, you can tackle this common household issue. Let’s dive into the steps for effective kitchen faucet leak repair.
First, pinpoint where the leak is coming from. Common trouble spots include the spray head connection, hose joints, and base connections. Check these areas carefully, as leaks can occur in multiple locations. Remember, prompt repairs prevent water waste and costly damage.
Often, worn O-rings or seals are the culprits behind leaks. For O-ring replacement, shut off the water supply and disassemble the kitchen faucet. Inspect the O-rings and replace any that look worn or damaged. This simple fix can solve many leakage issues without needing professional help.
Loose connections are another common cause of leaks. Ensure all connections are properly tightened for water-tight seals. Pay special attention to the sprinkler spray and shower hose connection. If tightening doesn’t solve the problem, you might need to replace the seal and apply suitable grease. After making adjustments, turn on the water to check if the leak is resolved.
Discover more DIY tips and guides at Insideast!

Choosing between a dual handle faucet and a single hole faucet may seem like a small decision but in bathroom
Receive your order to your door address anywhere in the world using our shipping partners
You're covered by our 30 days return policy
Big part of our reviews testifies about the quality of support provided
Secured payments using renowned payment gateways